Install SwiftQueue.
You need two things: a WordPress site where you can log in as an administrator, and the SwiftQueue plugin file (a .zip). Nothing here can break your site — and the last step shows you how to switch it off again, so you know the exit before you enter.
Get the plugin file.
Free version: download it right here — it's the whole background engine, free forever:
The file is called swiftqueue-free.zip. Don't unzip it —
WordPress wants it exactly as downloaded. SwiftQueue is also under
review for the official WordPress.org plugin directory; once approved,
installing gets even easier (search from your own admin, no download).
Bought Pro? Use the download link in your purchase email instead, or grab it any time from your account — that copy has your licence baked in.
Log in and open the plugin uploader.
Log in to your WordPress admin (usually
yoursite.com/wp-admin). In the left-hand menu, click
Plugins → Add New Plugin, then the
Upload Plugin button at the top. You'll see this
screen:
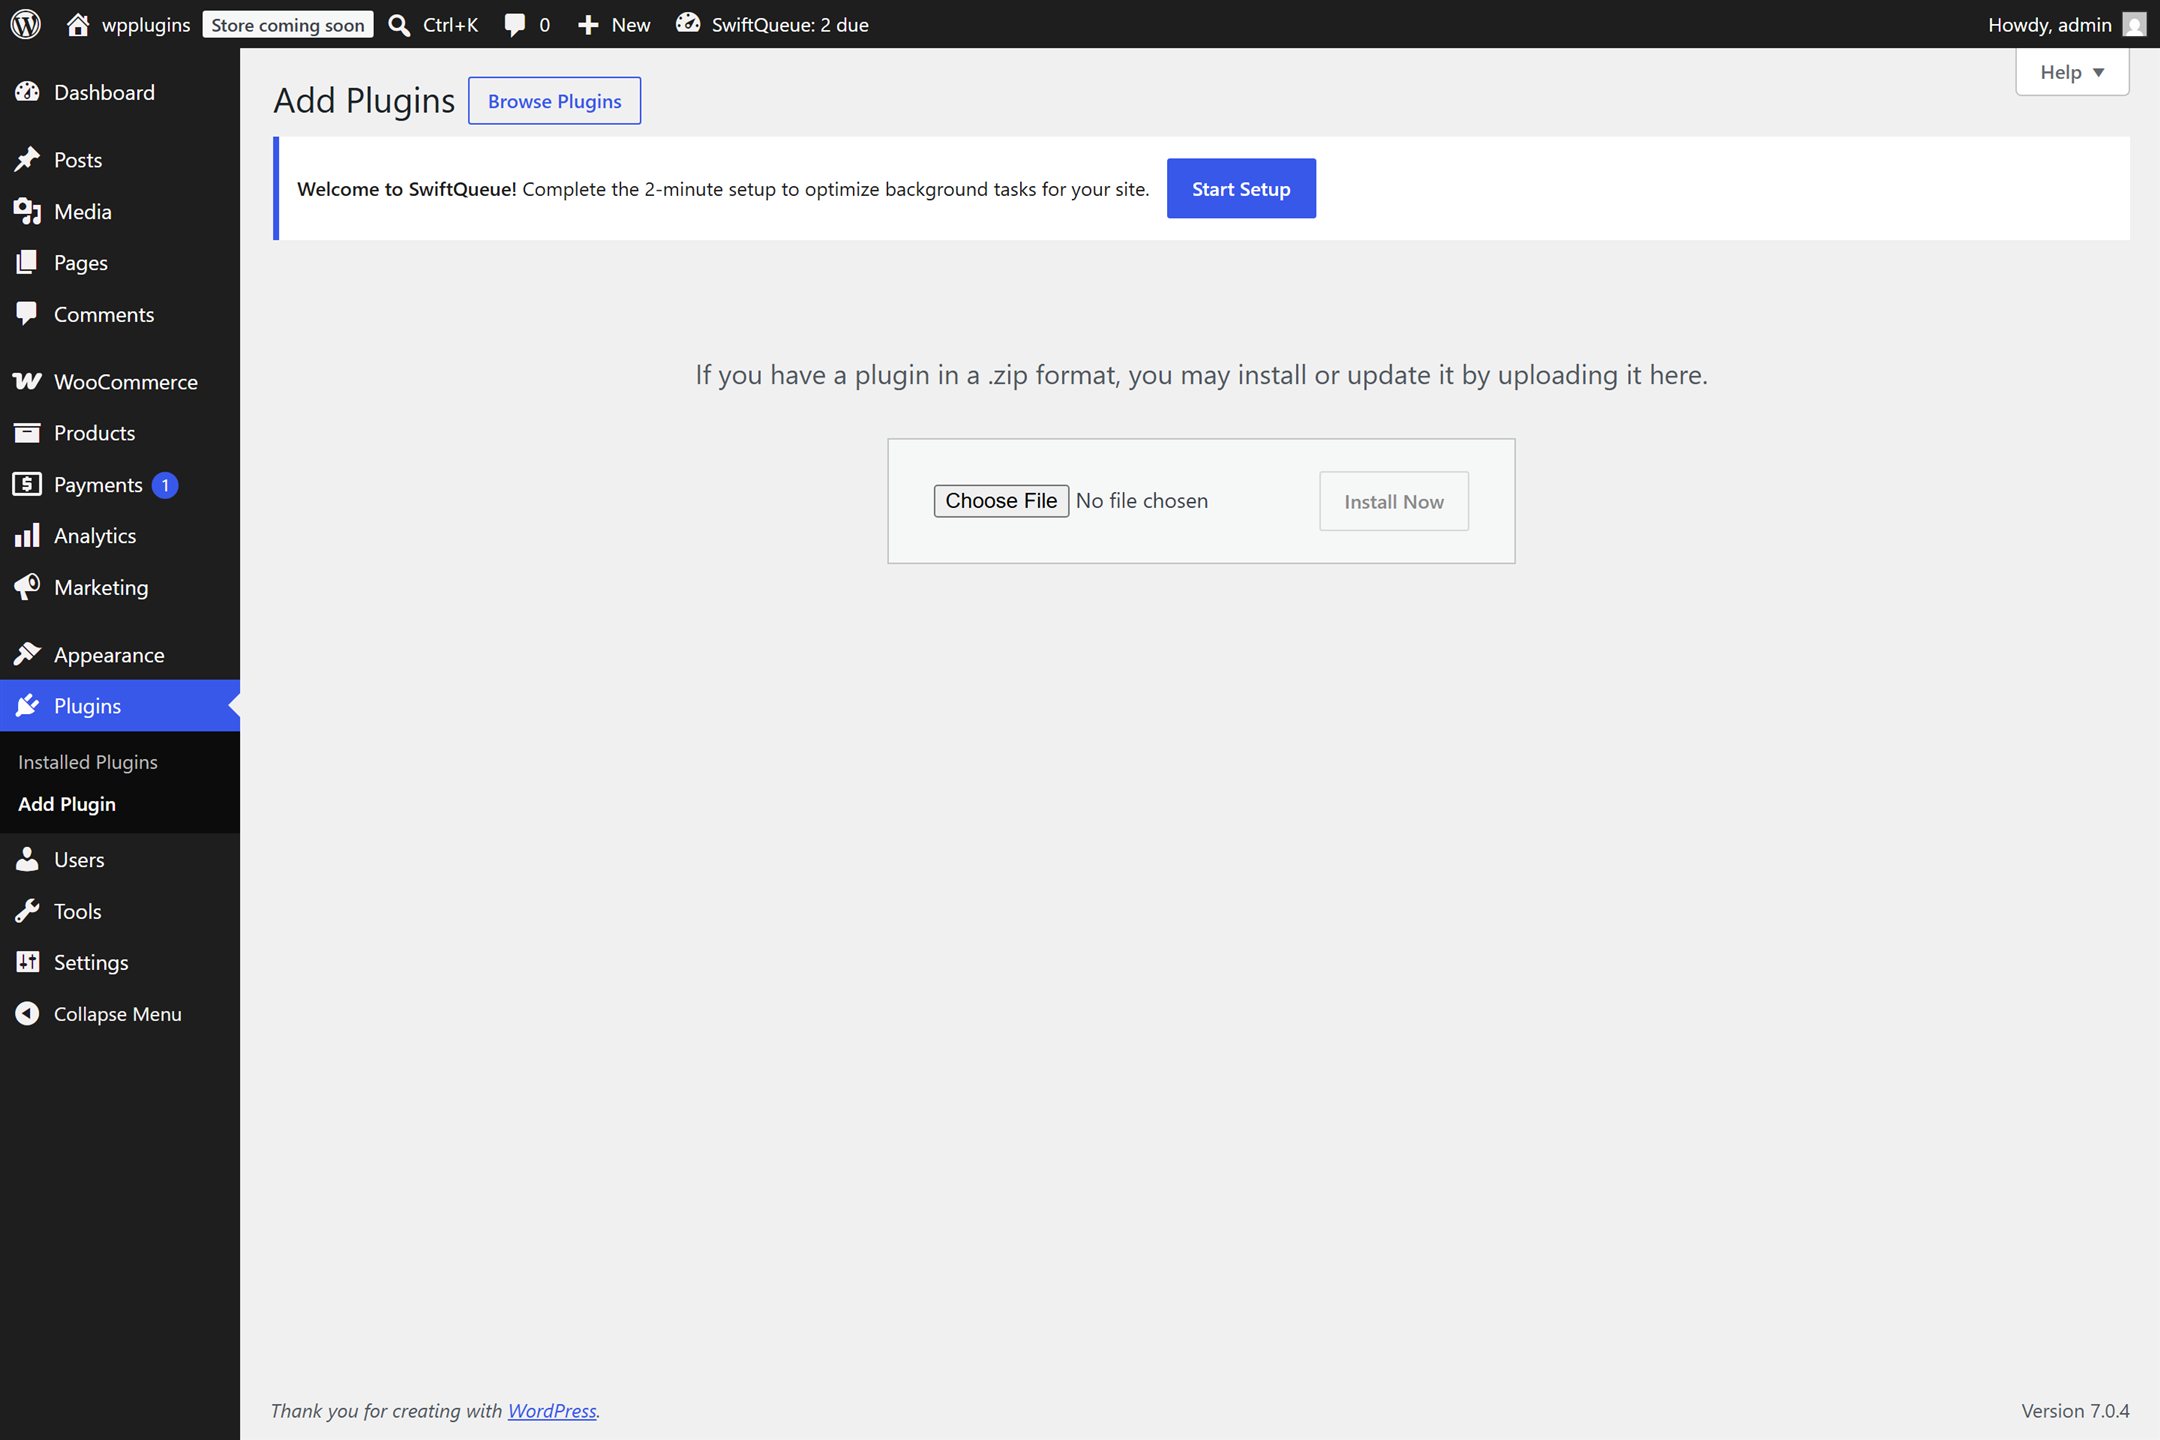
The upload box in the middle is where your SwiftQueue .zip goes.
Choose the .zip and click Install Now.
Click Choose File, pick the
swiftqueue-free.zip file you downloaded in Step 0 (or the
Pro .zip from your purchase email), then click
Install Now. WordPress uploads it and shows a progress
page — this takes a few seconds.
Don't unzip the file first. WordPress wants the .zip exactly as downloaded.
Activate it.
When the install finishes, click the Activate Plugin button. You'll land back on your plugins list, and SwiftQueue will show as active:
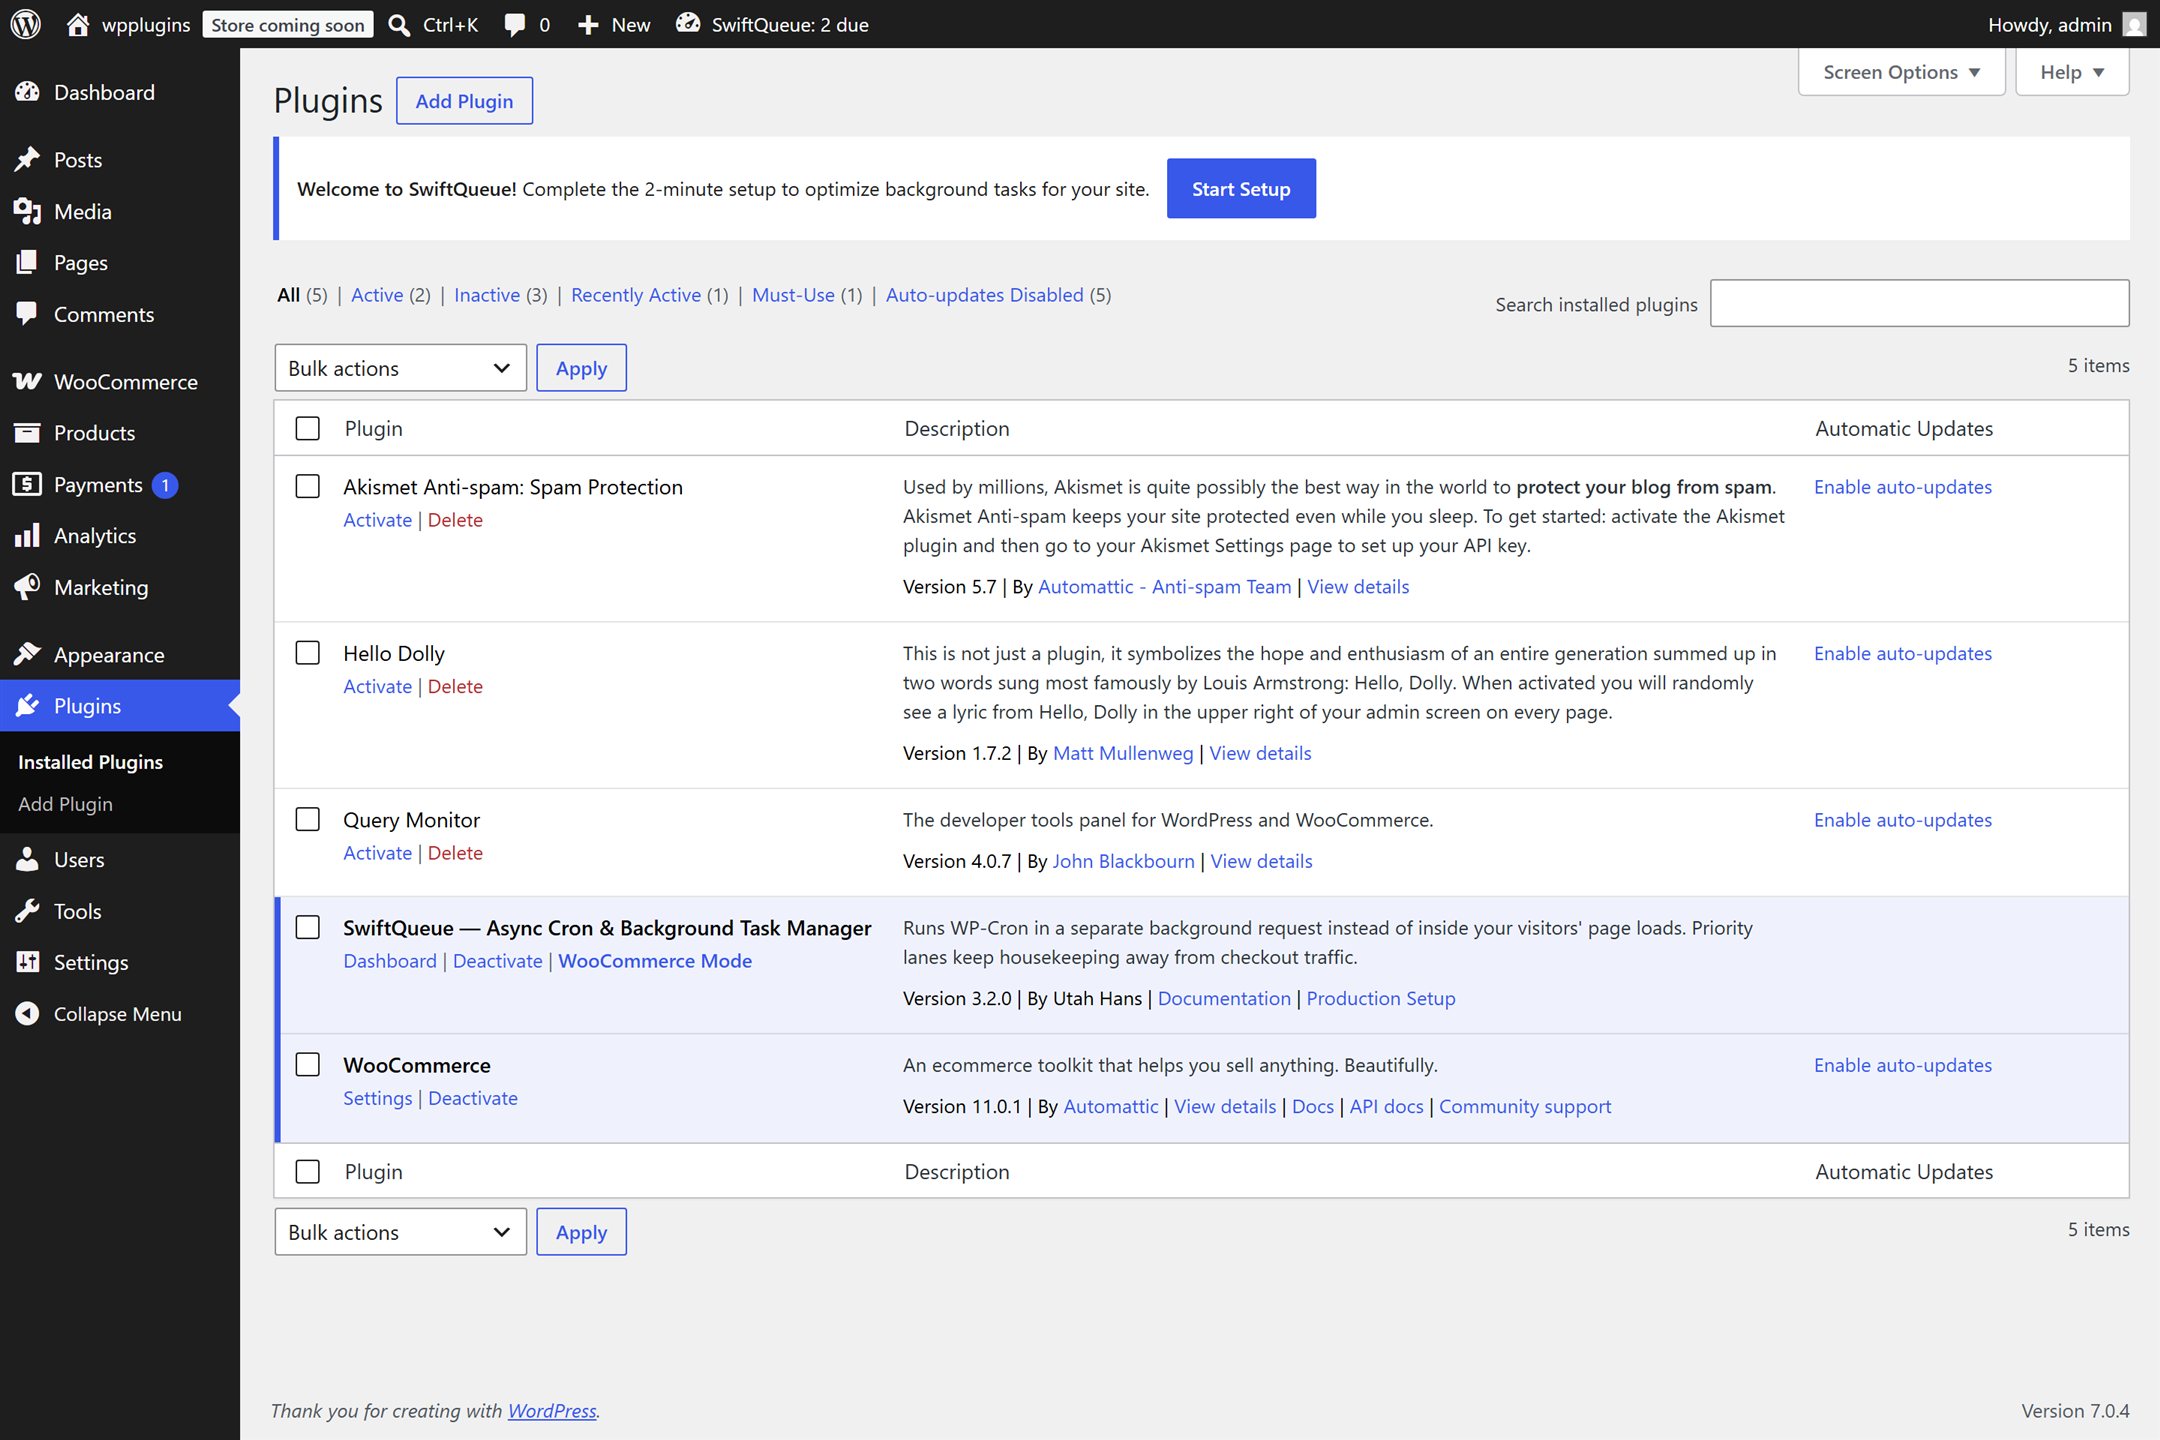
Active means working — the background engine is already on, with sensible defaults. Nothing else is required.
The licence screen — and the free way past it.
The first time you open SwiftQueue it asks for a licence key. If you bought Pro, paste it here. If you didn't, you are not stuck — look at the grey bar along the bottom:
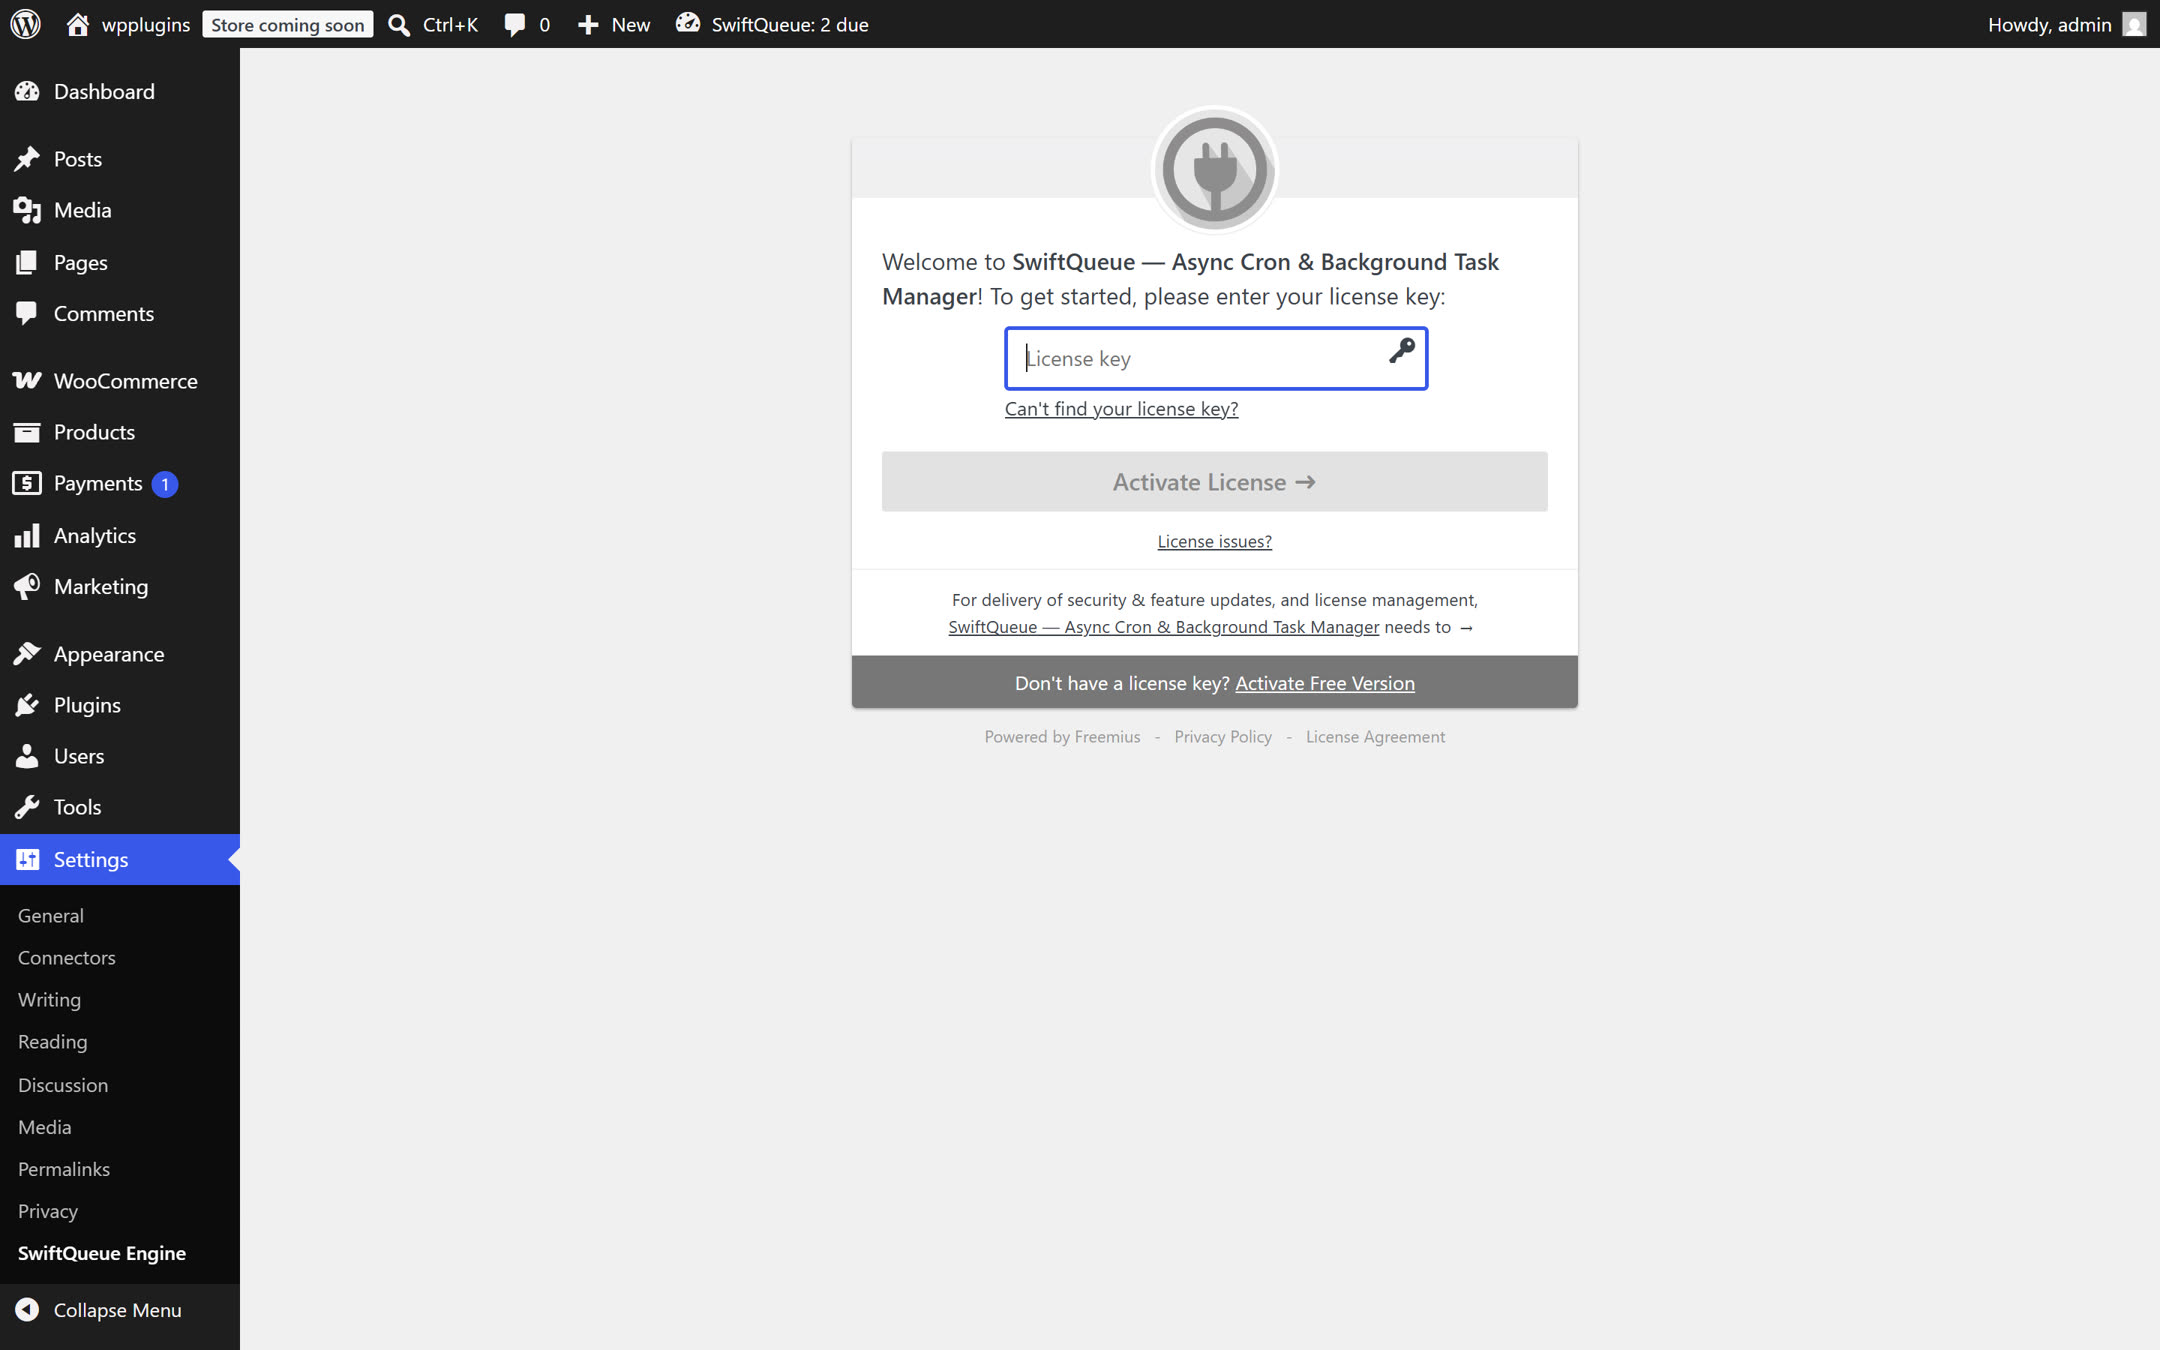
"Don't have a license key? Activate Free Version" — click that. The free version is the whole background engine and it is free forever, not a trial. No card, no email required.
Skip the email opt-in, or don't. Either is fine.
Next you're asked whether to share your email and some basic site information, so you get update notices. It is genuinely optional — the screen says so itself:
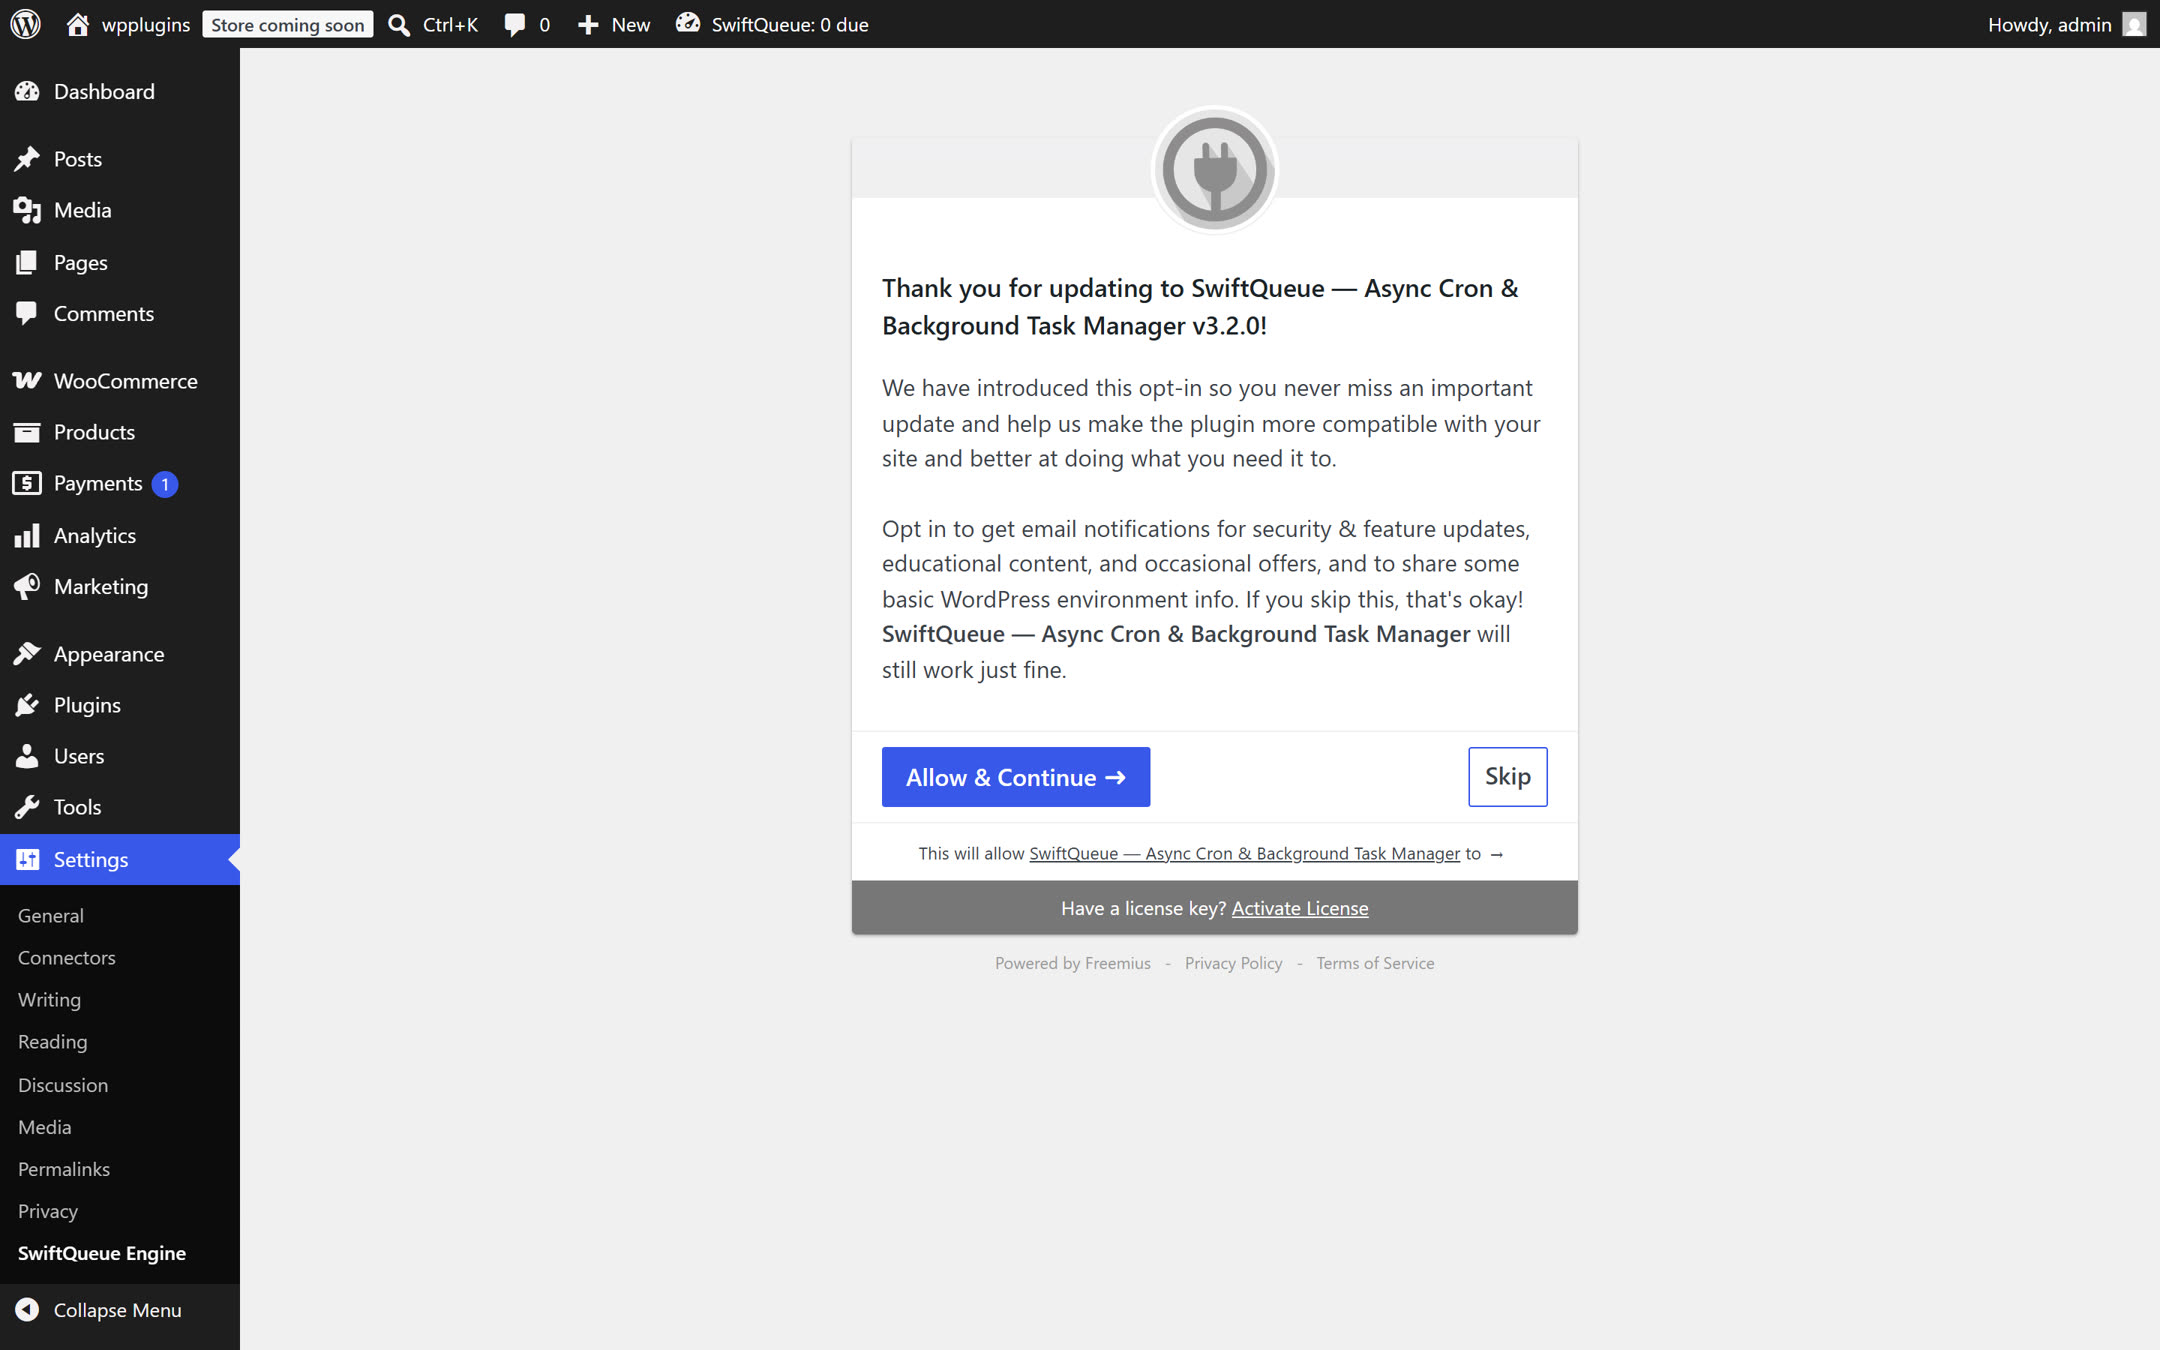
Skip is on the right, and skipping changes nothing about how the plugin works — "If you skip this, that's okay! SwiftQueue will still work just fine." Click either one and you're through to the dashboard.
Both of these screens come from the licensing system, not from the engine. They appear once, and never again on that site.
Open the dashboard.
In the left-hand menu go to Settings → SwiftQueue Engine (or click Dashboard right under the plugin's name in the list above). The first time, a short setup wizard offers to tune the plugin to your site's size:
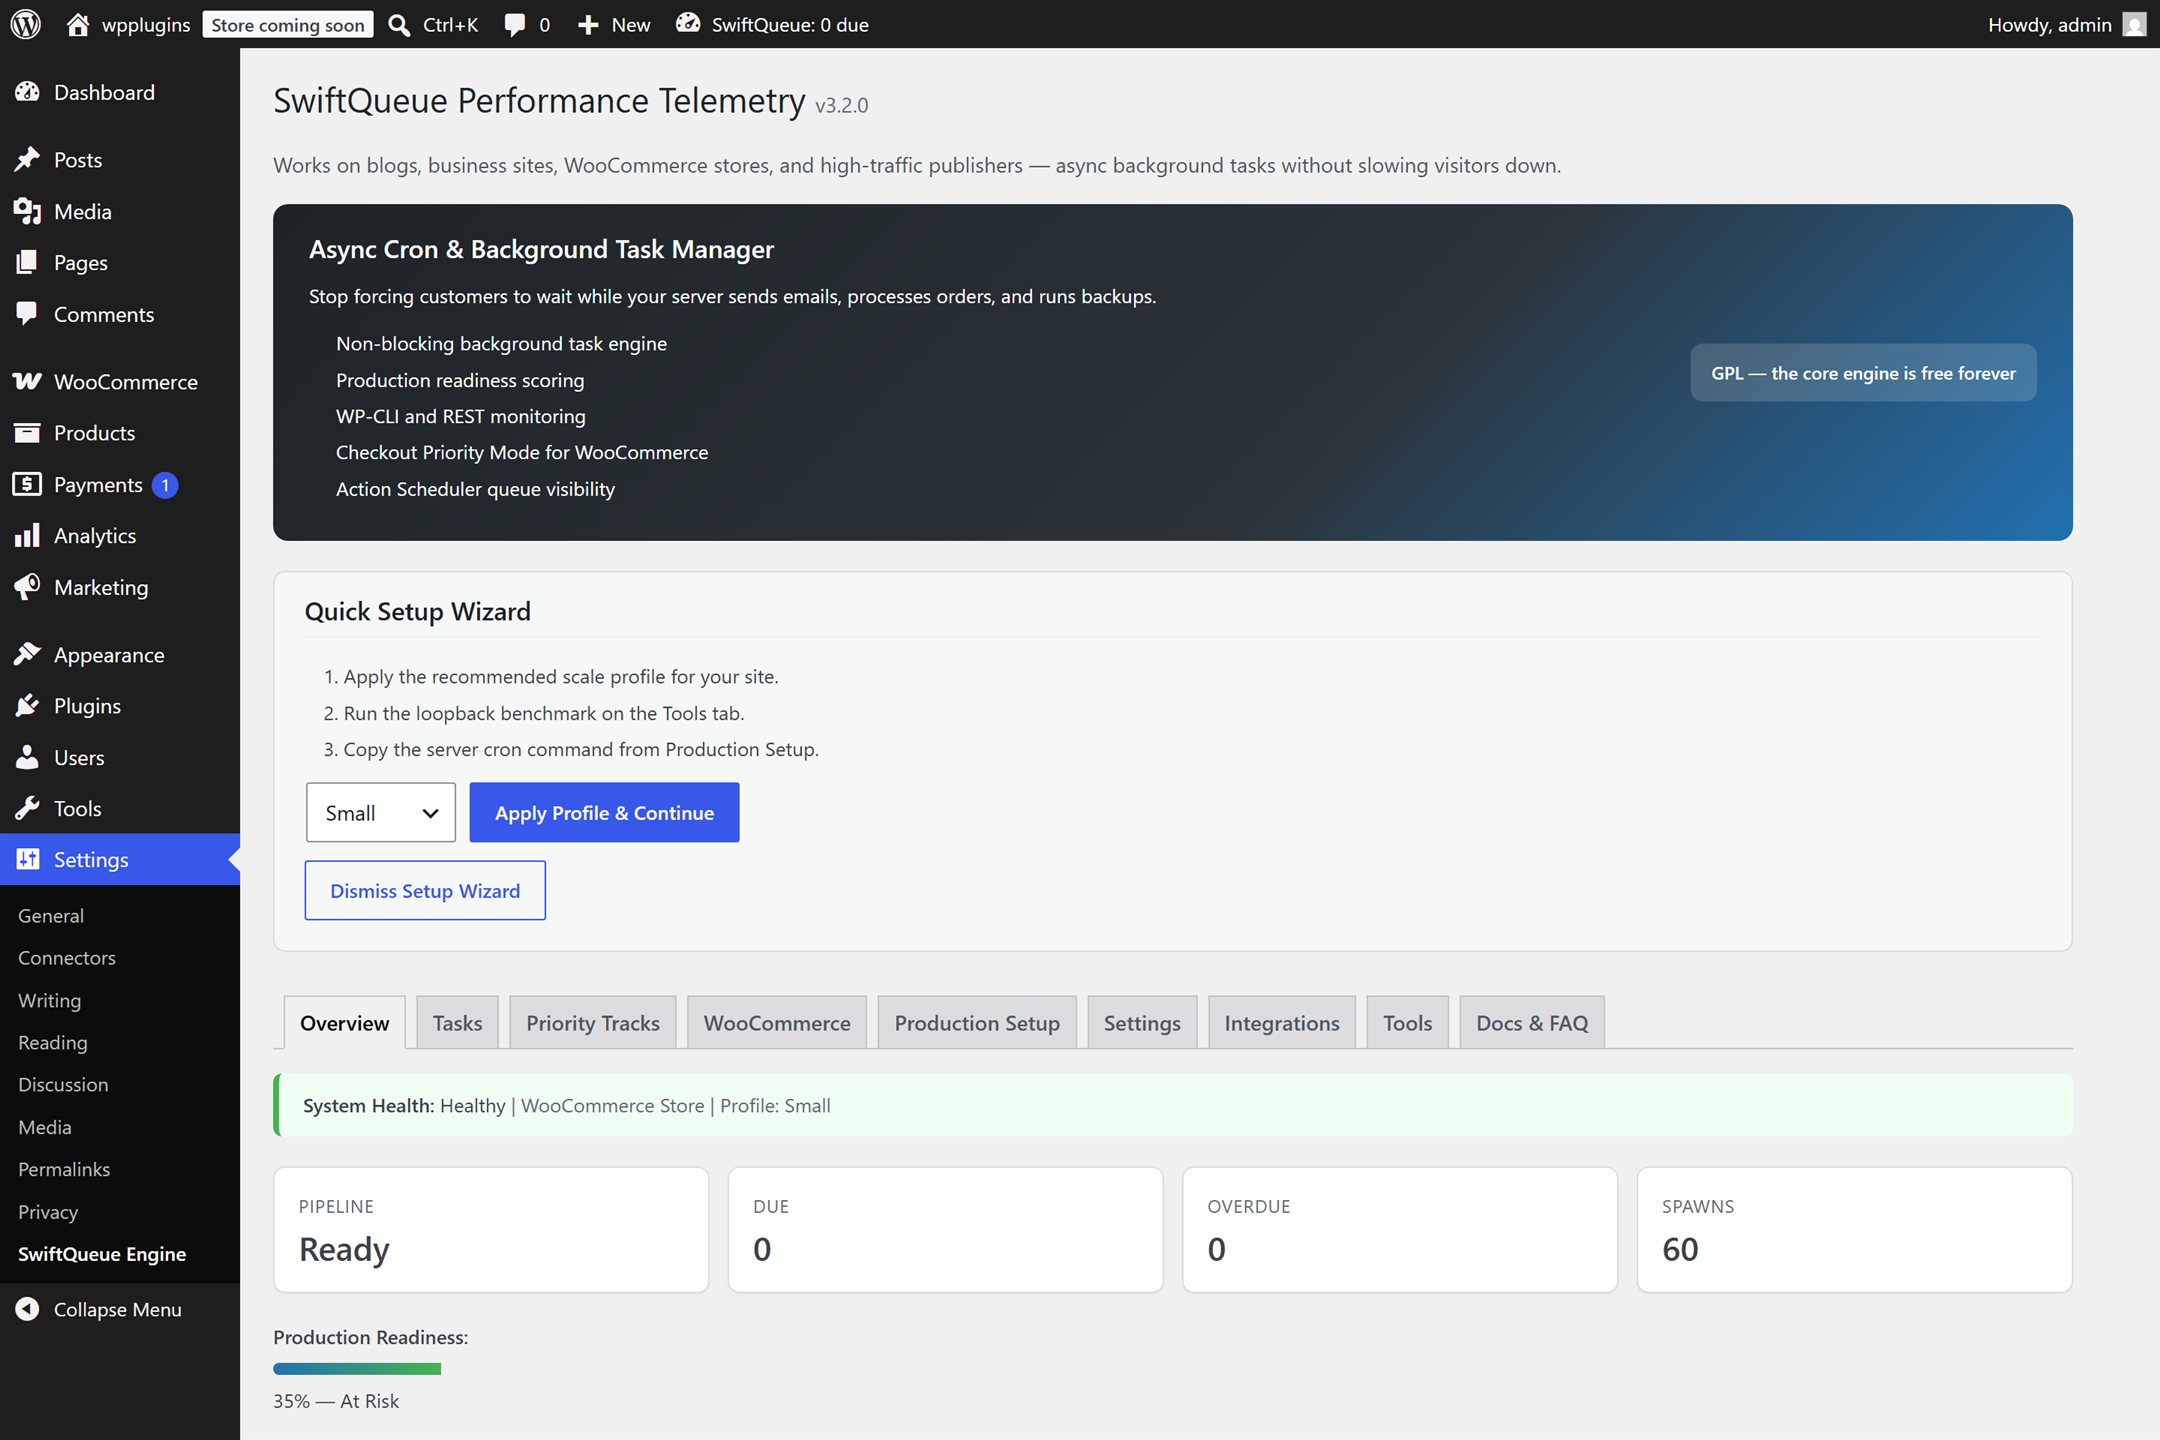
Pick the size that sounds most like your site and click Apply Profile & Continue. Unsure? "Small" is a safe answer for most sites — you can change it any time.
Know your exit.
If you ever want to stop: Plugins → Deactivate under SwiftQueue. WordPress instantly goes back to how it worked before — your chores still run, the old way. Deleting the plugin also removes everything it stored. That's it; there is no lock-in and no step you can get wrong.
Next: your first five minutes — what the dashboard is telling you, and the one checklist worth caring about.